Leaks are sneaky. A drip behind a wall or a hidden pipe seep under your slab can quietly wreak havoc before you even realize it. In this post, we’ll explore why hidden leaks are such a risk, how leak detection works, and proactive steps homeowners can take.
If you already suspect an issue, check out our detailed guide on Leak Detection Methods in our second blog.
Why Hidden Leaks Are a Big Deal
Hidden leaks aren’t just annoying — they can lead to serious damage:
- Structural damage: Over time, moisture weakens plaster, drywall, floor joists, and even foundations.
- Mold & mildew growth: Persistent humidity encourages mold behind walls or under flooring.
- Escalating water bills: Even small leaks waste gallons daily.
- Compromised insulation & energy loss: Moist insulation loses its efficiency.
- Damage to finish surfaces: Paint, wallpaper, wood floors, and flooring substrates can warp or stain.
Because of these risks, early detection is key.
Signs You Might Have a Hidden Leak
How do you know there’s a problem before it’s obvious? Watch for these red flags:
| Sign | What it suggests |
|---|---|
| Unexplained rise in water bill | Water is leaking somewhere unseen |
| Soft, damp spots on walls, ceilings, or floors | Water may be seeping internally |
| Persistent mold, musty smell, or mildew | Long-term dampness behind surfaces |
| Sound of dripping or running water when none in use | Leak under pressure |
| Cracks in walls or baseboards | Substrate swelling or movement |
| Low water pressure | Pressure loss due to a leak in a branch line |
If you see one or more of these, it’s time to call in professional leak detection services.
What Leak Detection Involves
A modern leak detection service is more than guesswork. Here’s how professionals approach the problem:
- Initial assessment & visual inspection
The leak detection team starts by asking you questions — where the symptoms are, when they started — and then doing a walk-through of your home’s plumbing, appliances, walls, ceilings, and floors. - Choosing the right detection tools
Based on the initial clues, they’ll pick a detection method (or combination) suited to the situation. - Non-invasive scanning & testing
Using advanced tools like acoustic sensors, thermal imaging, or moisture meters, the technician scans for anomalies. Where needed, video pipe inspection might be used inside pipes. - Pinpointing & marking leak location
Once the location is identified, it’s marked so repair can be done with minimal disturbance. - Report and next steps
The technician provides a summary of the findings — where the leak is, how bad it is, and what kind of repair is needed.
These steps ensure minimal damage and a higher chance of solving the problem efficiently.
Hidden Leak Types You Should Know
To better understand what the technician might find, here are common hidden leak types:
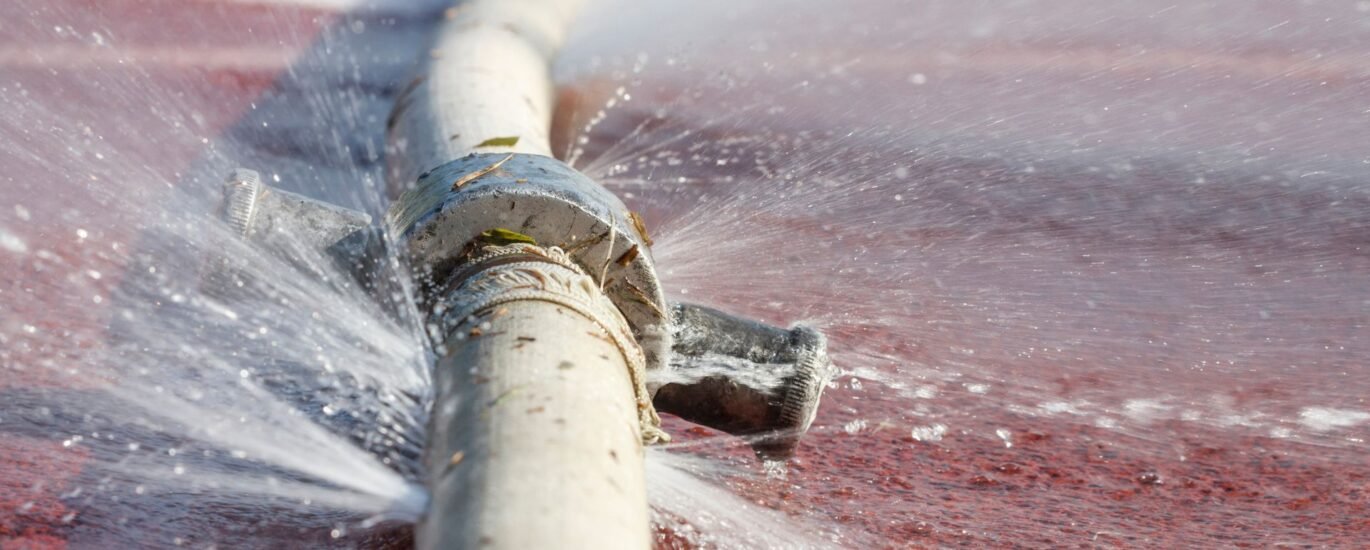
- Under-slab leaks: Pipes under concrete slabs can leak due to corrosive soil, shifting foundation, or pipe wear.
- Wall cavity or ceiling leaks: These occur behind plaster, drywall, or ceilings — often at joints, supply lines, or shower pans.
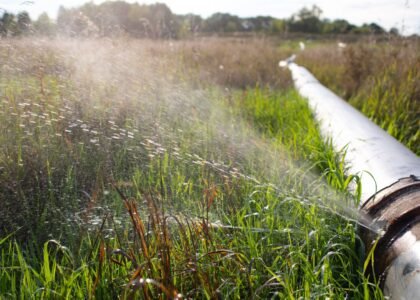
- Irrigation / landscape leaks: Hidden in yard or garden zones, these may show as greener patches or soggy soil.
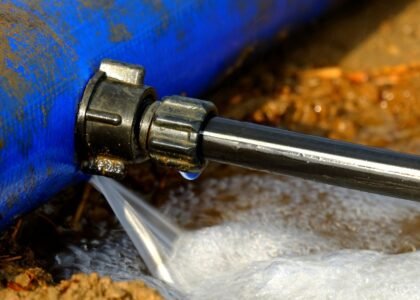
- Fixture leaks: Pipes behind sinks, toilets, bathtubs, or behind cabinetry can be sources.
- Appliance connection leaks: Under kitchen sinks, behind washing machines, dishwashers, or water heaters.
Each location demands slightly different detection approaches.
Why DIY Leak Detection Often Falls Short
You might try some DIY steps — they’re good for early detection, but can’t replace professional services:
- Checking your water meter (turn off all water usage and see if the meter still moves).
- Listening for dripping sounds inside walls.
- Watching for wet patches, stains, or mold.
- Monitoring water usage patterns and billing.
These can help you realize a leak is present, but you won’t reliably find the exact location or assess severity without professional leak detection.
If you suspect an issue, the best next move is to book a specialized service: Leak Detection.
Practical Tips to Prevent Hidden Leaks
You can reduce leak risks even before symptoms appear. Try these preventive steps:
- Regularly inspect exposed plumbing under sinks, behind appliances, and in basements/attics.
- Monitor water pressure — avoid sustained high pressure.
- Insulate pipes in colder zones to avoid freeze/thaw stress.
- Use water softeners or corrosion control if your water is very hard.
- Plan periodic professional inspections (especially in older homes).
- Keep vegetation and landscaping from pressing on plumbing lines.
What to Do When You Detect a Leak
- Shut off water to the affected zone (if possible).
- Document and photograph affected areas.
- Avoid DIY destructive cuts — let professionals pinpoint the spot.
- Contact a trusted leak detection provider, such as Plumbers Fullerton’s Leak Detection Service.
- Plan the repair, based on the report and your budget.
- Follow up with post-repair checks to ensure the leak is fully resolved.
Once the repair is done, you may return to our second blog (below) to understand exactly how detection tools work in different scenarios.
Conclusion & Call to Action
Hidden leaks are a significant threat to any property. But with timely detection and the right technology, most damage can be prevented. If you’ve noticed suspicious signs, don’t wait — explore our breakdown of Leak Detection Methods in the next blog post, or reach out via our Contact Page. Early action can save thousands in repair costs down the line.